
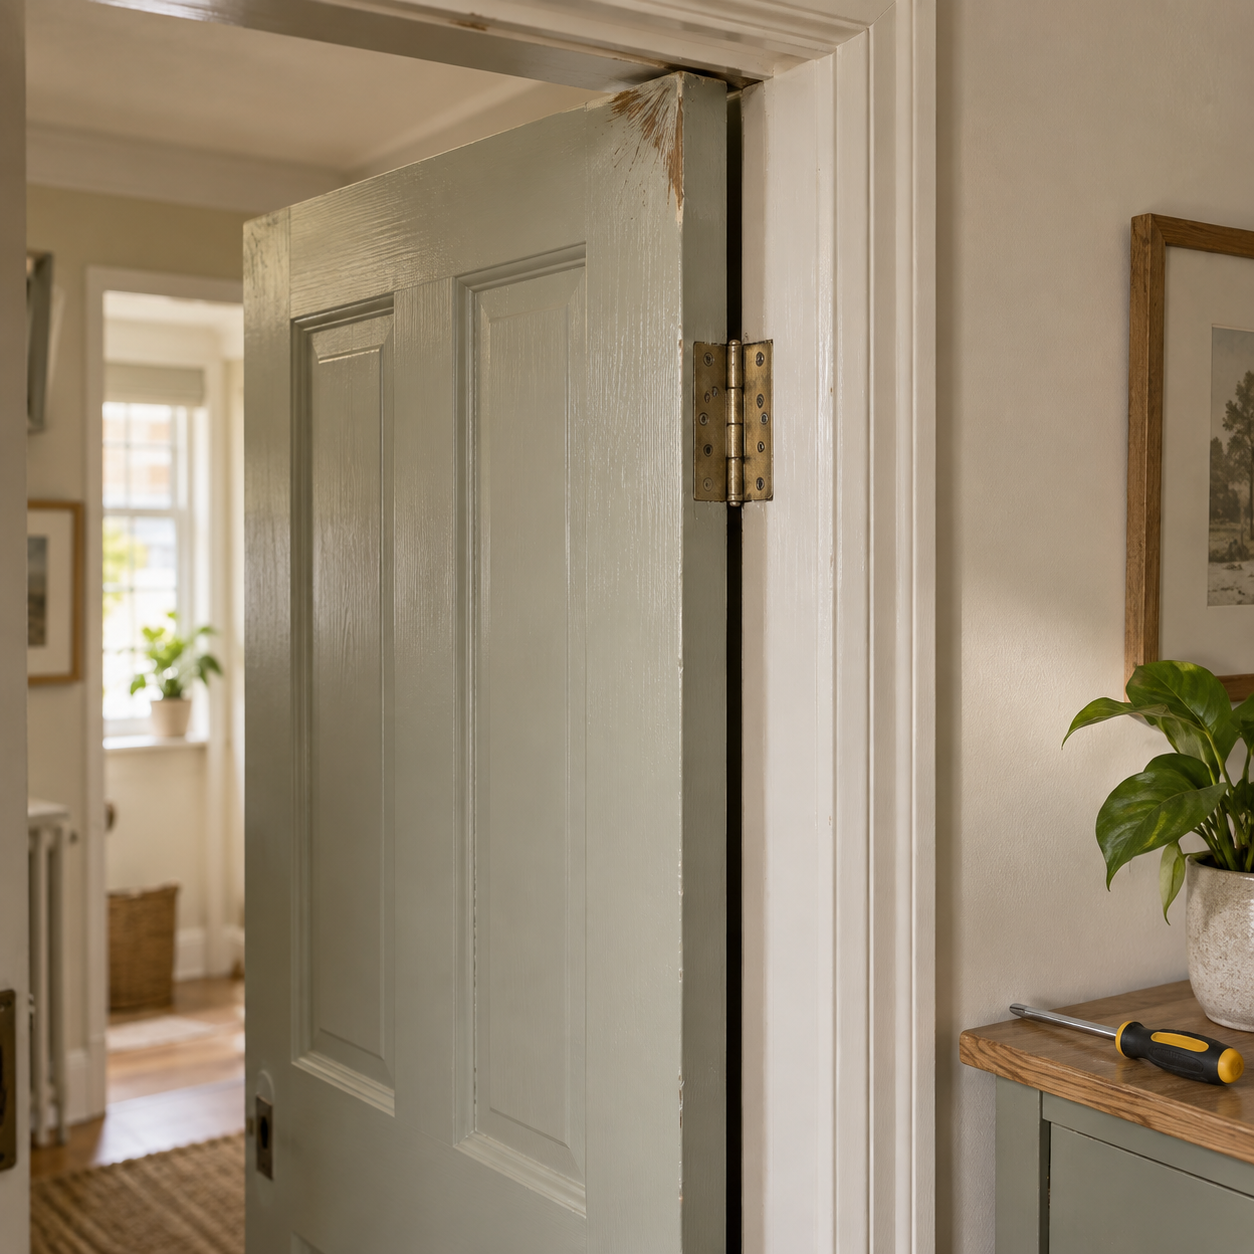
A door that suddenly starts sticking can be surprisingly irritating. Instead of swinging open normally, it catches against the frame, needs an extra push to close or makes a scraping sound every time you use it.
The tempting solution is to reach for some sandpaper and remove a little wood from the edge of the door.
But don’t start sanding just yet.
A sticking internal door can have several causes. Loose hinges, layers of old paint, a slightly dropped door or changes in moisture can all reduce the small amount of clearance around it.
Sanding might eventually be the right solution, but it’s a permanent one. Before removing any material, it makes sense to rule out the simpler possibilities first.
Here are seven things to check when a door sticks, starting with fixes that may take only a few minutes.
First, Find Out Exactly Where the Door Is Sticking
Slowly open and close the door while watching the gap between the door and its frame.
You’re looking for the exact point where the two surfaces meet.
Sometimes you’ll be able to hear or feel the door scrape. If the problem isn’t obvious, look for clues such as:
- scuffed or polished paint
- a worn patch on the edge of the door
- chipped paint on the frame
- an uneven gap around the door
- resistance at one particular point as the door closes
Pay attention to where the problem occurs.
If the door catches near the top on the handle side, for example, it may have dropped slightly.
If it rubs along a larger section of one edge, paint build-up or movement in the timber could be contributing.
If it swings freely but becomes difficult only during the final part of closing, investigate the latch and strike plate too.
Finding the problem area first makes everything that follows much easier.
What Can the Sticking Point Tell You?
| Where the door catches | Possible cause | What to check first |
|---|---|---|
| Top corner opposite the hinges | Door may have dropped slightly | Hinge screws and alignment |
| Around the hinge side | Hinge alignment or paint build-up | Hinges and painted edges |
| Along a larger section of an edge | Timber movement, swelling or paint | Clearance and recent changes |
| Only when almost fully closed | Latch or strike plate alignment | Latch and strike plate |
| One small isolated spot | Paint build-up or a local high point | Inspect the surface closely |
| Bottom corner | Door may have dropped or flooring may have changed | Hinges and floor clearance |
These aren’t absolute rules, but they provide a useful starting point.
1. Tighten Any Loose Hinge Screws
Start with the hinges.
Open the door and check the screws securing each hinge to both the door and the frame. Over time, screws can work slightly loose, allowing the position of the door to change.
Gently tighten any that are obviously loose and test the door again.
Pay particular attention to the top hinge. If it isn’t being held securely, the door can drop slightly on the opposite side and begin catching against the frame.
Don’t overtighten screws that are already secure.
What if a hinge screw keeps turning?
If a screw turns without tightening, the hole may no longer be gripping it properly.
Continuing to turn the screw won’t solve that problem and could make the hole worse.
A worn screw hole can usually be repaired, but treat that as a separate job rather than compensating by sanding material from the opposite side of the door.
2. Check Whether the Door Has Dropped
Close the door and look at the gaps around its edges.
They don’t need to be perfectly identical — particularly in an older property — but a noticeably uneven gap can provide a useful clue.
For example, if the gap above the door becomes progressively narrower towards the handle side, the door may have dropped slightly.
Look for:
- loose hinge screws
- movement in a hinge
- screws that no longer grip
- visibly worn hinges
- a hinge pulling away from the door or frame
This matters because a dropped door can easily look like a door that’s simply too large for its opening.
Sanding the corner might stop it rubbing, but it won’t address the reason its position changed.
3. Look for Paint Build-Up
Doors and frames that have been redecorated several times can accumulate surprisingly thick layers of paint.
Each coat is thin, but years of paint on both surfaces can gradually reduce the clearance between them.
Inspect the area that’s catching and look for:
- thick painted edges
- old drips
- raised ridges
- chipped areas
- rough previous repairs
- paint that appears to be rubbing against paint
If the problem is confined to a small raised area, you may not need to alter the underlying timber at all.
The important thing is to work on the actual problem spot rather than automatically sanding the entire edge of the door.
If you’re tackling other straightforward improvements around the house, our guide to easy DIY jobs that make a home feel better without a renovation has more achievable projects that don’t require a major refurbishment.
4. Consider Whether Moisture Is Affecting the Door
Wood responds to changes in moisture, so the fit of a timber door can vary slightly as conditions change.
If a door that previously worked normally has recently started rubbing, think about what else has changed.
For example:
- Has the problem appeared during more humid weather?
- Is the door close to a bathroom or kitchen?
- Has there recently been plastering or decorating nearby?
- Is the room poorly ventilated or unusually damp?
None of these proves that moisture is the cause, but they’re worth considering if the hinges are secure and the problem appeared relatively suddenly.
Should you immediately sand a door that has swollen?
Usually, it’s better to understand why it has become tight first.
If excess moisture is temporary, removing a significant amount of timber while the door is expanded could leave a larger-than-necessary gap once conditions change.
Deal with any obvious ventilation or moisture problem where appropriate and monitor how the door behaves.
Persistent damp is a separate issue and shouldn’t simply be disguised by repeatedly altering the door.
5. Check the Latch and Strike Plate
If the door swings normally but becomes difficult only when it’s almost closed, the problem may not be the edge of the door at all.
Watch what happens as the latch reaches the strike plate on the frame.
Ideally, the latch should enter the opening without you needing to lift the door, push it down or force it sideways.
Signs of a possible alignment problem include:
- the latch hitting the edge of the strike plate
- visible marks around the plate opening
- needing to lift the door before it will latch
- a door that closes but won’t stay shut
- a knock or resistance during the final part of closing
Don’t immediately move the strike plate.
First ask why the two parts are no longer lining up.
If the door has dropped because of a hinge problem, correcting that may bring the latch back into alignment at the same time.
6. Identify Any Small High Spot
If the hinges are secure, the latch works correctly and the door still rubs, return to the exact sticking point you identified earlier.
Open and close the door a few times to confirm it.
Then mark the problem area lightly with a pencil.
Look closely for something localised, such as:
- a raised paint edge
- a small rough patch
- slight surface damage
- an old repair
- one particularly tight section of the door or frame
This is where taking a few minutes to diagnose the problem pays off.
Instead of removing material from an entire edge, you may discover that the actual contact point is only a few centimetres long.
Any adjustment can then be much more controlled.
7. Sand Only After You’ve Ruled Out the Easier Fixes
If you’ve checked the hinges, alignment, paint, moisture and latch and you’re confident that a small amount of extra clearance is genuinely needed, sanding may be appropriate.
Mark the precise area that’s rubbing.
Use suitable sandpaper and work gradually, removing only a small amount before testing the door again.
The aim isn’t to create a large visible gap. You only need enough clearance for the door to move freely.
A simple pattern works well:
sand a little → test the door → inspect the gap → repeat only if necessary
Avoid sanding for several minutes before checking your progress.
You can always remove a little more material. Putting it back is considerably harder.
If it looks as though a substantial amount of the door needs removing, stop and reconsider whether alignment or another underlying issue is responsible.
Should You Use a Plane on a Sticking Door?
A hand plane removes timber much faster than sandpaper.
That can be useful when a door genuinely needs a larger adjustment, but it also makes it much easier to remove too much material.
For a beginner dealing with one small sticking point, careful sanding generally gives you more control.
If the door needs significant alteration, appears badly out of square or doesn’t sit correctly in its frame, it may be better to establish why before removing a substantial amount of timber.
What if the Door Sticks at the Bottom?
If the bottom of the door is rubbing, check the floor before changing the door.
Has anything changed recently?
Perhaps you’ve added:
- a thicker rug
- new carpet
- new underlay
- laminate or another floor covering
- a threshold strip
If so, the available clearance may simply have been reduced.
If the flooring hasn’t changed, check the hinges and gaps around the frame again. A door that has dropped can catch at a bottom corner even though the overall height of the door isn’t the problem.
This is another situation where immediately sanding the door could treat the wrong cause.
What if a Door Suddenly Starts Sticking?
A sudden change is worth investigating rather than simply correcting the rubbing point.
Start with the ordinary explanations: loose hinges, moisture, paint, flooring changes and normal movement.
A single sticking door doesn’t automatically indicate a serious problem.
However, if several doors or windows have become difficult to operate, significant cracks have appeared or changed, or you notice other signs of movement around the property, consider getting appropriate professional advice.
In that situation, repeatedly altering doors to fit could hide a symptom without addressing its cause.
Can You Fix a Sticking Door in a Rented Home?
If you’re renting, start with observation and simple, non-destructive checks.
Finding the sticking point or identifying an obviously loose fitting is very different from planing a landlord’s door, moving hardware or permanently removing material.
If the solution requires a permanent alteration, check your tenancy arrangements and contact your landlord or letting agent before carrying out the work.
The same principle applies throughout a rented home. Our renter-friendly decorating ideas focus on changes that make a property feel better without relying on permanent alterations.
A Simple Order to Follow
If you’re standing in front of a sticking door and aren’t sure what to do first, use this order:
- Find the exact sticking point.
- Check the hinge screws.
- Look for signs that the door has dropped.
- Inspect the contact point for paint build-up.
- Consider whether moisture or recent changes could be involved.
- Check the latch if the problem occurs only as the door closes.
- Sand a confirmed high spot only if the simpler causes have been ruled out.
Starting with the easiest checks can save you from making an unnecessary permanent alteration.
When Should You Get Professional Help?
A mildly sticking internal door is often straightforward to investigate, but not every door problem should become a DIY project.
Consider getting appropriate professional advice if:
- the door or frame appears significantly distorted
- a large amount of material seems to need removing
- several doors or windows have developed problems at the same time
- significant or changing cracks are visible nearby
- the frame itself appears to have moved
- you’re unsure why the problem has suddenly developed
- the door may be a fire door
- you’re renting and the repair requires permanent alteration
Be particularly careful with fire doors
Don’t casually trim, plane or otherwise modify a fire door.
The door, frame, hardware, seals and gaps can all form part of the fire-door assembly. If you suspect the sticking door is a fire door and aren’t sure what adjustment is permitted, get suitable advice before altering it.
Fix the Cause Before Altering the Door
A sticking door doesn’t automatically need sanding down.
Sometimes tightening a loose hinge is enough. In other cases, paint build-up, changing moisture levels, a dropped door or latch alignment can explain why a door that previously worked normally has started catching.
The important thing is to identify where the door is sticking and why.
Start with the simplest checks, make small adjustments and test the door after each one.
If sanding genuinely is necessary, you’ll then know exactly where to work and can remove only as much material as needed.
For a small DIY problem, a few minutes spent diagnosing the cause can save you from creating a much bigger repair.