
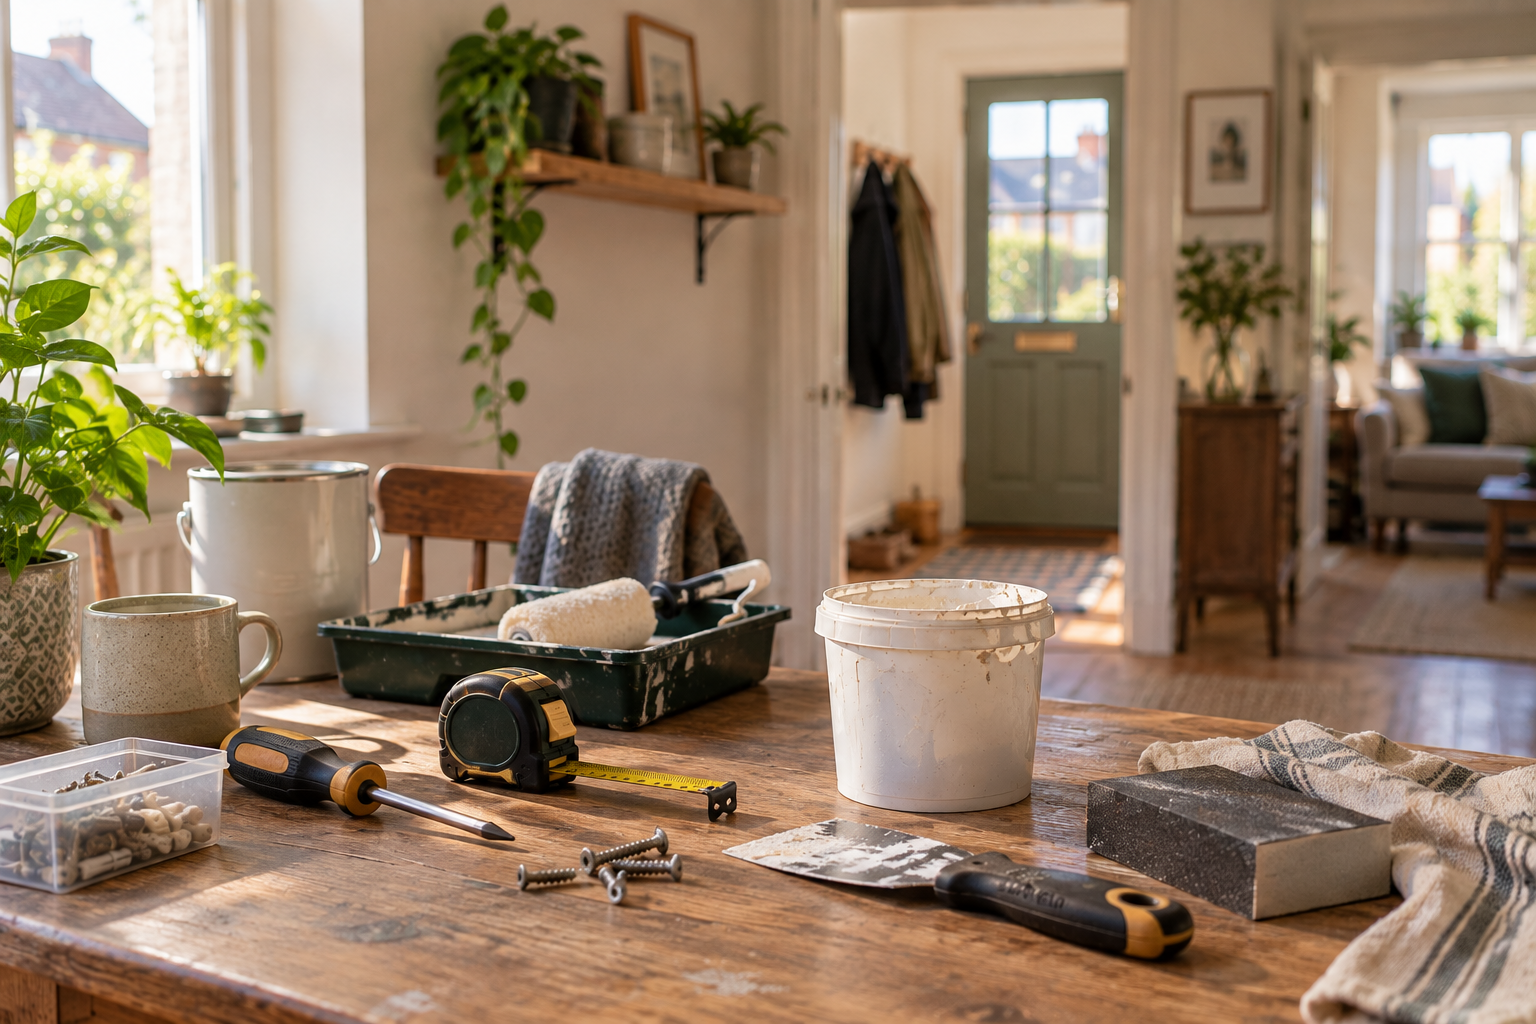
DIY can seem intimidating when you haven’t done much of it before.
It’s easy to look at beautifully renovated rooms online and assume that improving your own home requires expensive tools, specialist knowledge and an entire weekend spent taking something apart.
But learning DIY doesn’t have to start with a renovation.
Some of the best easy DIY jobs for beginners are much smaller: tightening a loose cupboard handle, filling an old hole in a wall, adjusting a crooked cabinet door or touching up a patch of damaged paint.
None of these jobs will transform your home overnight. But fixing several little problems can make a surprising difference to how finished and well cared for a space feels.
More importantly, small DIY jobs around the house give you an opportunity to learn how things work.
You begin to understand different tools, materials and fixings. You get better at looking at a problem before trying to repair it. And each successful job makes the next one feel a little less intimidating.
So rather than starting with an ambitious project, start with something manageable.
Here are 11 simple DIY jobs that can make a noticeable difference around your home while helping you build useful skills along the way.
If you’re looking for broader ways to improve a compact home, you might also like our guide to 11 simple DIY home improvements that make a small home work better.
What Counts as a Beginner DIY Job?
There isn’t a fixed definition of beginner DIY.
Someone who has never used a drill before will have a very different idea of an easy job from someone who grew up helping family members decorate and repair things around the house.
But there are some useful characteristics to look for.
A good beginner DIY job will usually:
- use relatively inexpensive materials
- require only a few basic tools
- be achievable in a reasonable amount of time
- avoid specialist trade knowledge
- have fairly limited consequences if your first attempt isn’t perfect
- solve a genuine problem in your home
That last point matters.
You don’t need to invent projects simply because you’ve decided to learn DIY.
Your home probably already contains plenty of opportunities.
Start With the Annoying Little Jobs
Walk slowly around your home and look at the things you’ve stopped noticing.
Perhaps a kitchen cupboard handle moves slightly every time you open it.
Maybe there’s an old picture-hook hole above the sofa.
One wardrobe door sits slightly lower than the other.
There’s a patch of chipped paint near a doorway.
Or one internal door squeaks every morning.
Individually, these problems are tiny.
Collectively, they can make a home feel more tired than it really is.
They’re also useful places to start because there is a clear problem to solve.
Instead of deciding, I’m going to learn DIY, you can decide:
I’m going to work out why that cupboard door doesn’t sit straight.
That’s a much more manageable challenge.
It also teaches one of the most useful DIY habits you can develop:
Understand the problem before trying to fix it.
Beginner-friendly doesn’t mean every job is suitable for every person or property. If you’re renting, you may also need to check your tenancy agreement or ask your landlord before making alterations such as drilling or painting.
Nookcroft tip: Choose one small job you can realistically finish today. Completing one repair properly is more useful than starting five improvements and leaving all of them half finished.
1. Fill Small Holes and Minor Cracks in Walls
Filling a small hole is one of the most useful decorating skills to learn.
Old picture hooks, removed shelves, furniture knocks and previous fixings can all leave little marks behind.
Fortunately, minor cosmetic damage is often straightforward to improve.
For a typical small hole, you’ll usually need little more than suitable filler, a filling knife, some fine sandpaper and eventually a small amount of matching paint.
Start by checking the damaged area.
Remove anything loose around the edge and make sure the surface is reasonably clean. Follow the instructions for the filler you’re using, as products can have different application and drying requirements.
Apply a small amount with the filling knife and work it into the damaged area.
One of the most common beginner mistakes is applying far too much.
A huge mound of filler might cover the hole, but you’ll then have to sand most of it away again. It is usually better to work neatly and build the repair gradually if necessary.
Once the filler has completely dried, gently sand the area until it feels level with the surrounding wall.
Run your fingertips across it.
Your hand will often notice a ridge that isn’t immediately obvious to your eyes.
Remove the sanding dust before decorating over the repair.
If you still have the original wall paint, a careful touch-up may be enough. Just remember that paint already on the wall may have changed slightly with age, light and everyday wear, so even the original colour isn’t guaranteed to blend perfectly.
When a Crack Isn’t Just a Decorating Job
There is an important distinction between repairing minor surface damage and covering up something that needs investigating.
A small cosmetic crack in a finish isn’t automatically a major problem.
But you shouldn’t assume that every crack simply needs filler.
If a crack is substantial, keeps returning, appears to be widening, is accompanied by movement elsewhere or otherwise concerns you, filling over it may only hide the symptom.
That’s when the job stops being fill the crack and becomes find out why the crack is there.
Nookcroft tip: Start with less filler than you think you’ll need. You can always add another thin layer, while excess filler simply creates more sanding.
2. Touch Up Scuffed or Chipped Paint
Not every tired-looking room needs redecorating.
Sometimes it’s just the areas that receive the most wear.
Look around:
- corners
- skirting boards
- door frames
- areas around switches
- narrow hallways
- walls beside furniture
These places are easily knocked, rubbed and marked during everyday life.
A few careful paint touch-ups can make the whole room feel better maintained without repainting every wall.
Start by identifying the paint you’re trying to match.
Colour matters, but so does the finish. A matt wall paint and a more reflective finish can look noticeably different even if their colours appear similar.
If you still have some of the original paint, check that it’s still suitable to use and mix it thoroughly according to its instructions.
Clean the area before painting. Small chips may also need a little preparation before they’re touched up.
Then apply paint carefully rather than creating a large patch around a tiny mark.
Depending on the surface and paint, you may need more than one light coat.
Don’t expect every repair to become completely invisible.
Paint ages. Rooms receive different amounts of sunlight. Surfaces get cleaned. Colours can change subtly over time.
The goal is improvement rather than perfection.
If you’re renting, check what you’re allowed to paint before making changes.
Don’t Turn a Touch-Up Into a Full Redecoration
It’s easy for one small job to grow.
You notice a chipped corner.
Then you decide the whole wall should be repainted.
That makes the neighbouring wall look slightly different, so perhaps that needs doing too.
Suddenly a small improvement has become a weekend decorating project.
Sometimes that’s worthwhile.
But sometimes the sensible solution really is just fixing the chipped corner.
Small repairs count.
3. Tighten Loose Handles, Knobs and Fittings
If you’ve never really done DIY before, start here.
A loose cupboard handle is about as approachable as a household repair gets.
Check kitchen cupboards, drawers, wardrobes, bedside tables and other frequently used furniture. You may be surprised how many handles have gradually loosened without you noticing.
Often, all that’s required is the correct screwdriver and a small adjustment.
First, identify the screw head properly.
Using a screwdriver that doesn’t fit can damage the screw and turn a simple job into a frustrating one.
Support the handle or fitting while you tighten it, particularly if the screw enters from the opposite side of a drawer or cupboard door.
And don’t assume tighter is always better.
You want the fitting secure, not crushed into the surface beneath it.
If a screw repeatedly becomes loose, won’t tighten or simply turns without gripping, there may be another problem to investigate. Continuing to turn it harder won’t necessarily help.
The value of this job isn’t just the result.
You’re learning to look closely at how something has been assembled.
Nookcroft tip: Before replacing tired-looking furniture hardware, spend ten minutes cleaning and tightening what you already have. Sometimes a piece of furniture doesn’t need upgrading — it simply needs putting back together properly.
4. Fix a Squeaky or Slightly Sticking Internal Door
A squeaky door can become part of the background noise of a home remarkably quickly.
But it’s often worth investigating.
Start by opening and closing the door slowly while watching and listening.
Where is the noise actually coming from?
If it appears to be around a hinge, inspect the hinge and its screws. A loose screw may allow slight movement where there shouldn’t be any.
If everything is secure but the hinge itself is squeaking, cleaning where appropriate and using a lubricant suitable for the hinge may solve the problem. Use products according to their instructions and protect surrounding finishes.
A sticking door requires a little more investigation.
Don’t immediately start sanding the edge.
Open and close it slowly and identify exactly where it catches.
Check the hinges.
Has a screw loosened?
Does the door appear to have dropped slightly?
Is there obvious paint build-up around the contact point?
Doors can also behave differently as temperature and humidity change, particularly with timber.
Removing material should therefore come after understanding why the door is sticking, not before.
Know When the Door Is Telling You Something Else
A slightly loose hinge is one thing.
A door that has suddenly moved substantially, repeatedly changes position or appears alongside other movement in the surrounding area deserves more investigation.
The rule is simple:
Diagnose first. Alter second.
5. Refresh Tired Silicone Sealant
Old sealant can make an otherwise clean bathroom or kitchen look surprisingly tired.
Over time, silicone around baths, showers, sinks and worktops can become discoloured, cracked or start pulling away from the surface.
Replacing a straightforward bead of failed sealant is a useful skill to learn.
But preparation matters.
Simply applying fresh silicone over an untidy layer of old material usually produces an untidy result.
The old sealant needs to be removed carefully using appropriate tools and methods for the surrounding surface.
Once it has been removed, deal with any remaining residue as appropriate and make sure the area is properly clean and dry before applying the replacement.
Choose a sealant designed for the location.
Bathrooms and other wet areas may require a suitable sanitary product rather than whatever tube happens to be in the toolbox.
Read the manufacturer’s instructions before starting, including the recommended preparation, application and curing time.
When applying the new bead, aim for control rather than quantity.
A huge amount of silicone won’t necessarily create a better seal and can be much harder to finish neatly.
Smooth the bead using an appropriate method and leave it for the required curing period.
Sealant Isn’t a Repair for a Leak
If water is appearing somewhere it shouldn’t, don’t automatically assume another layer of silicone is the answer.
Repeated sealant failure, significant water damage, movement, failed surrounding materials or an actual plumbing leak can indicate a different problem.
Sealant is useful.
It isn’t a substitute for identifying where unwanted water is coming from.
Nookcroft tip: Don’t rush the preparation. Removing the old material properly and starting with a clean, dry surface is often more important than how quickly you can apply the new bead.
6. Bleed a Radiator That’s Cold at the Top
Learning how the heating system in your home normally behaves can help you recognise simple problems.
One common example is a radiator that feels warm towards the bottom but noticeably cooler at the top.
Trapped air can be one possible cause.
Bleeding a suitable radiator releases trapped air from the radiator, but check the instructions for your heating system before starting.
Generally, the heating should be switched off and the radiator allowed to cool.
You’ll normally need the appropriate radiator key or tool, along with a cloth and small container to catch any water.
The bleed valve is opened carefully and only enough to allow trapped air to escape. You may hear a hissing sound.
Once the air has been released and water begins to appear appropriately, close the valve without overtightening it.
Bleeding radiators can affect the pressure of some heating systems, so check the manufacturer’s instructions afterwards. If you aren’t confident about checking or correcting the pressure on your particular system, seek appropriate help rather than guessing.
When Bleeding Isn’t the Answer
Not every cold radiator contains trapped air.
If a radiator doesn’t warm up at all, leaks, shows significant corrosion, behaves differently from the simple cold-at-the-top pattern or your heating system repeatedly loses pressure, the problem may lie elsewhere.
Likewise, if you continually need to bleed the same radiator, it’s worth investigating why rather than treating it as an endless maintenance routine.
7. Add Simple Draught-Proofing Around a Door or Window
A cold draught around a window or external door can make a room less comfortable even when the heating is running.
Some straightforward gaps can be improved with relatively simple draught-proofing products.
But the first job is finding out where the draught is actually coming from.
Don’t cover every gap you can see.
Some openings are intentional and necessary for ventilation.
Instead, inspect the area carefully and work out whether air is entering around a closing edge, beneath a door or somewhere else.
Depending on the situation, an appropriate replaceable seal or door-bottom solution may help.
Measure before buying anything.
Check that the product is suitable for the particular door or window and install it according to the manufacturer’s instructions.
Afterwards, make sure the door or window still opens, closes and locks correctly.
Be particularly careful not to obstruct purpose-designed ventilation.
Airflow that is intentionally part of the building shouldn’t be treated as an unwanted draught.
We’ll cover draught-proofing in much more detail in a dedicated Nookcroft guide.
8. Adjust a Crooked Cupboard Door
A kitchen cupboard with uneven doors can make the entire run of cabinets look slightly untidy.
Yet the cupboard itself may be perfectly fine.
Many modern cabinet doors use adjustable concealed hinges, allowing the position of the door to be altered without replacing anything.
Before touching the screws, spend a moment looking at the door.
What is actually wrong?
Is one edge sitting higher?
Is the gap between two doors uneven?
Does the door sit too far forwards?
Does it rub against the neighbouring cabinet?
Then look at the hinge.
Different hinge designs work differently, so don’t assume every screw performs the same function.
With many adjustable designs, different screws or mounting points can affect side-to-side position, depth or height. If you can identify the hinge, manufacturer instructions can be extremely useful.
The important beginner principle is to make tiny adjustments.
Turn one adjustment slightly.
Close the door.
Look at what changed.
Then decide what to do next.
Don’t turn every visible screw several times and hope the door eventually lines up.
It may take a few attempts, particularly if more than one hinge needs a small adjustment.
That’s fine.
Make One Adjustment at a Time
If you change five things simultaneously and the problem gets worse, you won’t know which change caused it.
Make one adjustment.
Observe.
Then continue.
Nookcroft tip: Take a clear photo of the hinge before you start. If you lose track of what you’ve changed, you’ll have a reference showing where you began.
9. Replace Simple Furniture Handles or Knobs
Sometimes furniture works perfectly well but looks a little tired.
Before replacing the whole piece, consider whether one small detail is letting it down.
Handles and knobs are a good example.
A chest of drawers, bedside table, desk or freestanding cabinet can look quite different with simple replacement hardware.
The easiest version of this job is a like-for-like change using the existing holes.
Before buying anything, remove or inspect one of the current handles and measure carefully.
For handles with two fixing points, the distance between those points matters.
A beautiful new handle isn’t much use if its screws don’t line up with the existing holes.
Knobs with a single fixing can be simpler, although you should still check the fixing size, length and suitability for the furniture.
Using the existing holes also avoids unnecessary drilling.
If you’re working with furniture supplied as part of a furnished rental, think carefully before making any change and get permission where appropriate.
Keep the original hardware safely labelled so it can be reinstated if needed.
And don’t throw away perfectly serviceable handles automatically.
They may simply look better after a thorough clean.
Improving something you already own is often more satisfying — and less expensive — than replacing it.
10. Sort Out Visible Cables Properly
Cable management doesn’t sound like DIY in the traditional sense.
There is no sawing.
No painting.
Possibly no drilling.
But it solves exactly the kind of small everyday problem that can make a home work better.
Look behind your television.
Under your desk.
Beside the bed.
Around the router.
There may be charging cables, extension leads and old wires that have gradually accumulated because each individual addition seemed harmless.
Start by working out what you actually use.
An unidentified cable that hasn’t been connected to anything for three years probably doesn’t need to remain permanently tangled behind the television.
Once redundant items have been removed, group the remaining cables logically.
Reusable cable ties, suitable clips, management trays and cable boxes can all help depending on the setup.
Sometimes simply repositioning an extension lead or piece of furniture will reduce how much cable is visible.
The aim isn’t to hide every wire at any cost.
It’s to create a setup that’s easier to clean around, less visually distracting and sensible to use.
If your living room is where most of the clutter tends to accumulate, our guide to 15 small living room storage ideas that keep clutter under control has more ways to organise a compact space.
Keep Cable Management Sensible
Don’t tightly bundle equipment or cables in a way that causes inappropriate heat build-up.
Don’t damage cables by crushing or sharply bending them.
Don’t create new trip hazards in an attempt to hide existing ones.
And cable organisation isn’t a solution for overloaded sockets or unsafe electrical equipment.
A tidy cable isn’t necessarily a safe cable.
11. Put Up a Simple Shelf — Once You Understand the Wall
Putting up a shelf is often treated as one of the classic beginner DIY jobs.
And it can be.
But the most important skill isn’t drilling a straight hole.
It’s understanding what you’re drilling into.
A shelf needs to support its own weight plus whatever you intend to put on it.
That load has to travel through the brackets and fixings into the wall.
So before picking up the drill, spend some time understanding the wall itself.
Understand Your Wall
Homes aren’t all constructed in the same way.
You might be dealing with masonry, plasterboard attached to studs or another wall construction entirely.
Different situations require different fixings.
A fixing that works well in solid masonry isn’t automatically suitable for a hollow plasterboard wall.
Likewise, not every plasterboard fixing is designed to carry the same load.
If you don’t know what kind of wall you have, that’s the first thing to investigate.
It isn’t wasted time.
It’s part of putting the shelf up.
Check Before You Drill
Walls can contain things you cannot see.
Electrical cables.
Water pipes.
Other services.
Never assume that an apparently empty section of wall is empty simply because there is nothing visible on the surface.
Use an appropriate detector where necessary and understand its instructions and limitations.
Think about the location too.
Sockets, switches, taps, radiators and other visible fittings may indicate that services are nearby, but they shouldn’t be your only method of checking.
If you’re uncertain about what’s behind the surface, don’t drill until you’ve established that it’s safe to do so.
A shelf can wait.
Match the Fixing to the Wall and the Load
Some shelves arrive with screws and wall plugs.
That doesn’t automatically mean those fixings are appropriate for every wall.
You need to consider:
- the wall construction
- the type of fixing
- the shelf and bracket design
- the intended load
A small decorative shelf holding a lightweight object presents a different challenge from a long shelf filled with heavy books.
Don’t guess at load capacity.
Use suitable fixings and follow the relevant manufacturer’s guidance.
Measure Twice
Once you’re confident about the wall and fixing method, work out exactly where the shelf needs to go.
Consider both appearance and usefulness.
Will it interfere with a door?
Is it high enough above furniture?
Can you comfortably reach what will be stored there?
Mark your intended fixing points carefully.
Use a spirit level to check the position.
Then check again.
It’s much easier to move a pencil mark than a drilled hole.
Know When Not to Drill
There’s nothing wrong with deciding not to put the shelf up yourself.
If you can’t confidently establish the wall construction, aren’t sure about hidden services, don’t understand which fixing you need or intend to support a significant load, get appropriate advice or help.
The shelf is a useful final project in this list because it combines several beginner skills:
measuring, marking, understanding materials, choosing fixings, using tools and thinking about safety before making a permanent change.
Nookcroft tip: A shelf isn’t a sensible beginner job because drilling a hole is easy. It becomes a sensible beginner job when you understand the wall, the fixing and what the shelf is expected to hold.
The Basic DIY Toolkit You Actually Need to Start
Walk into a large DIY shop and it’s easy to feel as though you need hundreds of pounds’ worth of equipment before you’re allowed to tighten a cupboard handle.
You don’t.
Build your toolkit around the jobs you actually do.
A useful starter collection might eventually include:
- a tape measure
- a few good screwdrivers
- a spirit level
- a filling knife
- a utility knife
- a small hammer
- pliers
- an adjustable spanner
- a pencil
- appropriate eye protection
A drill and suitable drill bits become useful once you start taking on jobs that actually require them.
Likewise, if you’re drilling into walls, an appropriate detector is an important addition.
But you don’t necessarily need everything on day one.
If your first job is tightening a loose drawer handle, you need the correct screwdriver.
That’s it.
When your next job requires something else, add it.
Your toolkit can grow alongside your ability.
Spend More Where It Matters
Buying the cheapest possible version of every tool isn’t necessarily economical.
A tool you use frequently should be comfortable, appropriate for the job and good enough to perform reliably.
But that doesn’t mean every beginner needs professional trade equipment.
Borrowing or hiring something can also make sense for occasional jobs.
The goal isn’t to own an impressive toolbox.
It’s to have the right tools for the work you’re actually doing.
DIY Jobs Beginners Should Leave to the Professionals
Learning DIY doesn’t mean trying to do everything yourself.
Some jobs carry consequences that are very different from filling a screw hole or adjusting a cupboard hinge.
A beginner should be particularly cautious about work involving:
- electrical installations
- gas
- structural alterations
- significant plumbing
- roofing or working at height
- asbestos or other potentially hazardous materials
- substantial water ingress
- anything you don’t understand well enough to make safe
There will always be grey areas because people’s skills and experience vary.
But if a mistake could create a serious safety issue, cause substantial damage or leave you dealing with something you don’t fully understand, that’s a good reason to use an appropriately qualified professional.
Watching someone complete a repair in a short video doesn’t give you their experience.
The goal isn’t to prove that you can do everything yourself.
It’s to understand your home better and make sensible decisions about maintaining it.
And sometimes the best decision is knowing when not to start.
How to Get Better at DIY Without Taking on Too Much
DIY confidence is usually built gradually.
You tighten a loose handle.
Then you fill an old screw hole and learn how filler behaves.
You adjust a cupboard hinge and begin to understand how small mechanical changes affect alignment.
Eventually, you might feel comfortable identifying a wall type, choosing an appropriate fixing and putting up a shelf.
Each job adds another small piece of knowledge.
Learn How Your Own Home Works
Small repairs gradually teach you about the particular property you live in.
You begin to notice how different walls are constructed, how doors change with the seasons, how your heating normally behaves and which fittings occasionally need adjustment.
That knowledge is useful even when you eventually call a professional because you’re better able to recognise and describe what has changed.
Learn to Diagnose Before You Buy
When something stops working properly, resist the urge to immediately replace it.
Look first.
Is it actually broken?
Is something simply loose?
Has it moved out of alignment?
Does it need cleaning?
Has one inexpensive component failed while the rest remains perfectly usable?
Sometimes replacement will still be the right answer.
But you’ll understand why you’re replacing it.
There’s no prize for completing the most complicated project yourself.
Being able to look after the everyday details of your home is valuable in its own right.
Frequently Asked Questions
What DIY jobs are easiest for beginners?
Some of the easiest DIY jobs for beginners include tightening loose handles, filling small holes, touching up chipped paint, adjusting suitable cupboard hinges and organising visible cables.
Start with a job that has a clear problem, uses basic tools and has relatively low consequences if your first attempt isn’t perfect.
What basic DIY skills should everyone know?
Useful basic DIY skills include measuring accurately, using common hand tools correctly, making minor surface repairs, understanding basic fixings and identifying what you’re working with before altering it.
Learning to diagnose a problem before trying to repair it is just as important.
What tools does a DIY beginner need?
A useful starter toolkit might include a tape measure, screwdrivers, spirit level, filling knife, small hammer, pliers, adjustable spanner, pencil and appropriate protective equipment.
You don’t need everything immediately. Add tools as real jobs require them.
Can I learn DIY if I’ve never done it before?
Yes.
Start with small, low-risk jobs and follow the instructions for the tools and materials you’re using.
Take your time and don’t worry about being fast.
Your first goal is understanding what you’re doing. Speed comes with experience.
What DIY jobs should a beginner avoid?
Beginners should be particularly cautious with electrical installations, gas, structural work, significant plumbing, work at height and potentially hazardous materials.
If you don’t understand the consequences of getting a job wrong, stop and get appropriate advice or professional help.
Can I do DIY in a rented home?
Yes, but what you’re allowed to change depends on your tenancy and the work involved.
Drilling, decorating, replacing fixtures or making other alterations may require permission, so check before making changes rather than assuming something is acceptable because it’s reversible.
If your main goal is making a rental feel more personal, our guide to 15 renter-friendly decorating ideas that make a rental feel like home covers lighting, textiles, artwork, furniture and other less permanent approaches.
Final Thoughts
Learning DIY doesn’t have to begin with a renovation.
It can start with the cupboard handle that moves every time you open the door.
Or the old hole in the wall you’ve been looking at for months.
Or the cabinet door that has never quite lined up properly.
These jobs seem insignificant until you fix them.
Then you begin noticing something else.
You understand a little more about how your home works.
You know which screwdriver fits that particular screw.
You understand why applying too much filler makes more work.
You know that a sticking door should be investigated before it’s sanded.
And you understand that drilling into a wall requires more thought than simply choosing where you’d like the shelf to go.
That’s how practical confidence develops.
Not by attempting the biggest possible project, but by solving small problems carefully and learning something each time.
Choose one job from this list.
Work out what you need.
Understand what you’re changing.
And take your time.
The goal isn’t to become someone who does everything themselves.
It’s to become someone who can look at a small problem in their home, understand it and decide confidently what to do next.
And sometimes, that starts with nothing more complicated than a screwdriver and the loose handle you’ve been meaning to fix.